Some day/When I’m awf’ly low/ And the world is cold/I will feel a glow just thinking of you…
Yeah, you thought it was the way you looked tonight. Nope. It’s food again. Sorry to all the romantics out there, but by this point in the week, I can’t even see you, much less think of you when everything is going to the pot.
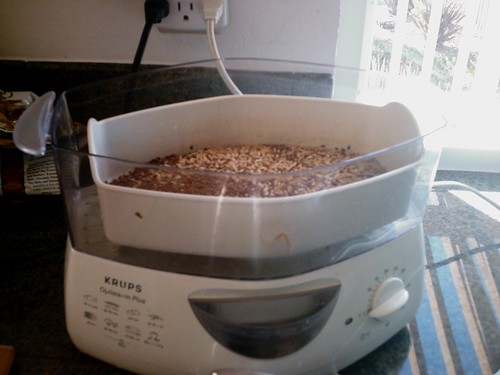 I thought I should blog about Baking Powder Biscuits this last week when I woke up and realized we hadn’t steamed the breakfast grains (sigh!) and so we would either need to wait an additional hour to eat, or I’d have to come up with something quickly. I wish I’d taken pictures of the first biscuits – they were elegant looking and had that effortless perfection that you only really achieve when you’re not setting up a stupid photo shot and trying desperately to get your food to cooperate. At any rate, when the world has all gone to hell, and you’ve had a bad night, or are without options for a quick breakfast, plain old drop biscuits are just very nice. For those playing along in the UK… they’re… um, muffins? Savoury scones? Who knows. We called them tea cakes if a bit of vanilla and sweetener was added and they were neatly rolled, but they’re basically
Whole Wheat Baking Powder Drop Biscuits,
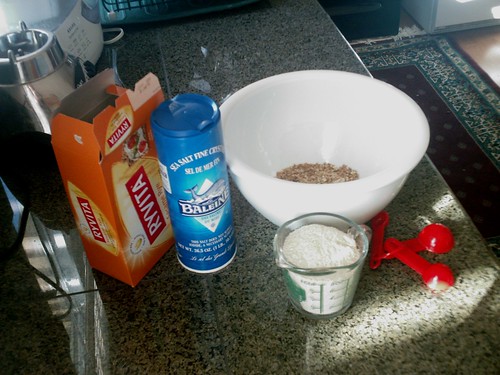
(and this is BASIC recipe:)
* 1 cup whole wheat flour
* 1 cup all-purpose flour
* 1 tablespoon baking powder
* 1 teaspoon salt
* 1/4 cup canola or olive oil
* 3/4 cup unsweetened soy milk
(Perambulation: Now, I’ve said “basic,” which means that there are infinite variations. For instance, instead of the two cups of flour, I substitute four rye crackers, crumpled up, which about equals a cup. Once I added a cup of tortilla crumbs. It depends on how you’ll use them in your meal. I rarely add a full quarter cup of oil, either. I prefer drier biscuits, so I use about two tablespoons. I also use very cold water in place of soy milk, but that’s just me.)
DIRECTIONS
1. Preheat the oven to 450°F (220°C).
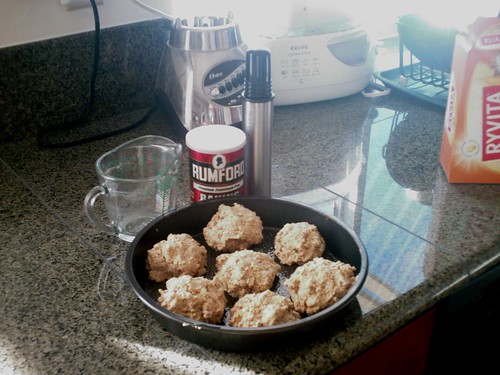
2. Stir together the whole wheat flour, all-purpose flour, baking powder, and salt. Combine the oil and soy milk in a measuring cup. Pour into the dry ingredients all at once, and stir just until the dough pulls away from the sides of the bowl. Drop by heaping spoonfuls onto a baking sheet.
3. Bake for 8 to10 minutes in the preheated oven, until the biscuits are browned on the top and bottom.
Further Perambulation: One thing to remember is that less stirring with biscuits is …more. They’re not meant to have a hugely built-up gluten in them, or they will get quite …rocklike. So just put your ingredients in, mix up the drys dry, and then, once you add your liquid, keep your wooden spoon stirring to the bare minimum it takes to get the ingredients all combined.
And don’t be afraid to experiment more. These can be made savory with various onion powders, 1/4 c. of low moisture shredded cheese, or black pepper, or made sweet with various spices and 2 tbsp. of sugar. Find your own bliss!
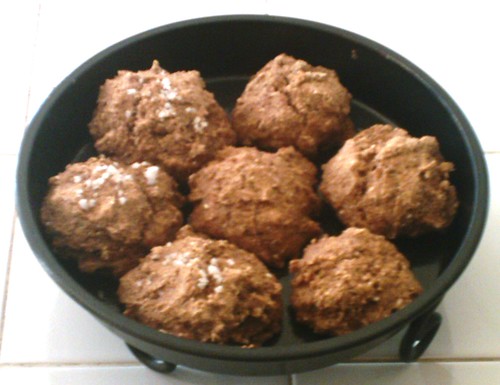
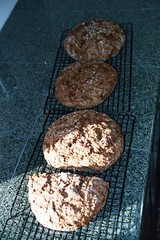
So, here’s the finished product. I put pretzel salt on a couple of them for the guy who likes to think everything is a big pretzel… and, as I said, these weren’t the prettiest, because I didn’t use unbleached flour, but whole wheat and rye. But they were moist, tasty, and light.
When you feel like everything you touch in the kitchen is turning to sawdust and ashes, you can still make baking powder drop biscuits. use them to top a quick potpie or to accompany soup and salad. Slather them with jam and margarine or top with strawberries for a shortcake type dessert. They’re easy and make you feel like you’re somewhat kitchen-capable again. At least it works for me.

This work is licensed under a
Creative Commons Attribution-Noncommercial-No Derivative Works 3.0 License.
 order “blanks,” which are, in the fabric arts world, black or